
User guide for signing and encrypting emails using the GLOBALTRUST UPC token V2.0 (issued from May 15, 2023) in Microsoft Outlook.
As of May 9, 2023
1 Basics
1.1 Goals of this document
A step-by-step guide on how to add the certificate in Microsoft Outlook to sign and/or encrypt emails.
These instructions were created for Microsoft Outlook 2016
1.2 Procurement of suitable certificate
The following product type of our UPC token supports the signing and encryption of emails
✓ UPC-Bundle (V2.0 issued from May 15, 2023)
✓ UPC-Token (V2.0 issued from May 15, 2023)
Folgender Produkttyp unserer UPC-Token unterstützt das Signieren von E-Mails
✓ UPC-Bundle (V1.0 issued before May 15, 2023)
✓ UPC-Token (V1.0 issued before May 15, 2023)
Note: A subsequent upgrade is not possible.
The following additional product types also support the signing and encryption of e-mails:
✓ COMPANY
✓ SIGNATURE
✓ AUTHENTICATION
✓ An overview of all products can be found here here
✓ General information about the GLOBALTRUST UPC Bundle/Token can be found here
✓ General information on signing and encrypting e-mails can be found here
2 Short version
Adding the certificate in Outlook
✓ Click under “File” → “Options” → “Trust Center” → “Trust Center Settings”.
✓ In the newly appeared window under “E-Mail Security” → “Settings” click to set up a new security settings profile
✓ Enter any name for the security setting, then click on the required certificate via “Signing certificate” and “Encryption certificate” under “Choose…”. (If the certificate is not displayed immediately, click on “More options”)
Signing emails
✓ Click “New E-Mail” at the top left. Under “Options” click on “Sign”.
✓ Enter recipient, subject and message if necessary. Send.
Encrypting emails
✓ Add the recipient to the address book. (If already done skip this point)
✓ Click “New E-Mail” at the top left. Under “Options” click on “Encrypt”.
✓ Enter recipient, subject and message if necessary. Send.
Note: With S/MIME encryption, both communication partners require a suitable certificate.
Sign and encrypt emails
✓ Add the recipient to the address book. (If already done skip this point)
✓ Click “New E-Mail” at the top left. Under “Options” click on “Encrypt” and “Sign”.
✓ Enter recipient, subject and message if necessary. Send.
Note: With S/MIME encryption, both communication partners require a suitable certificate.
3 Detailed documentation
3.1 Step I – Adding the certificate in Outlook
3.1.1 Open settings
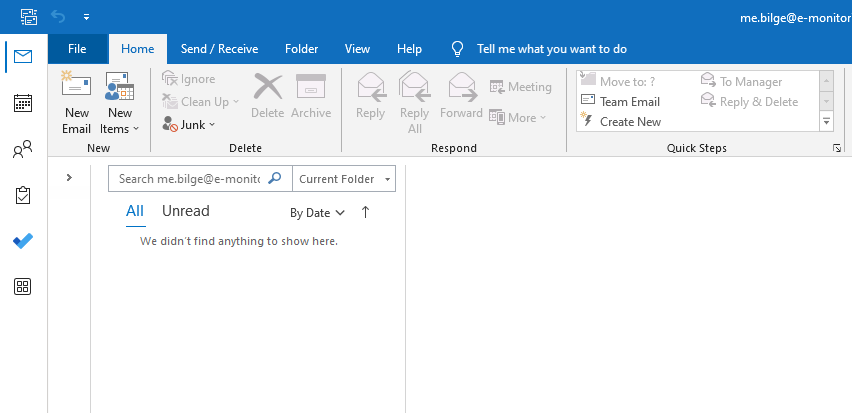
Click on “File”
Legend:
- Choose “File”
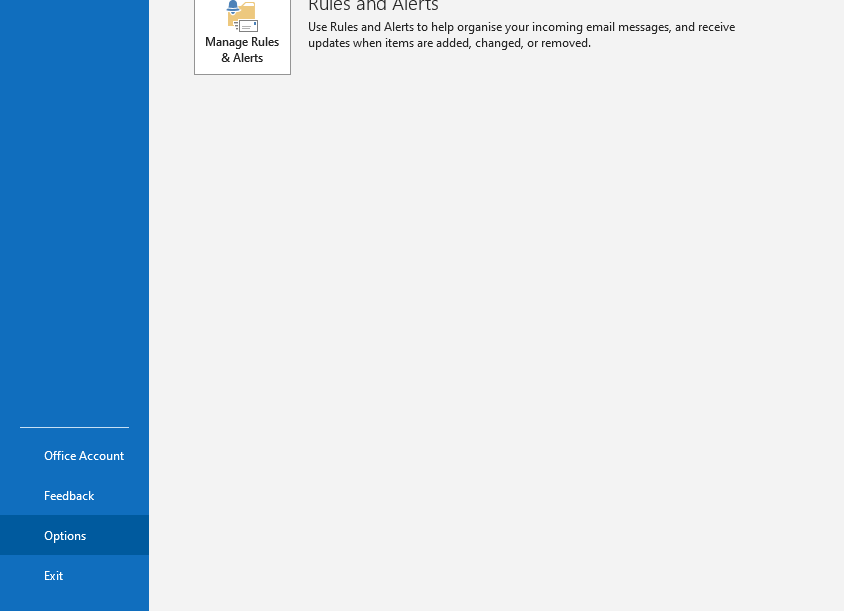
Click on “Options”
Legend:
- Click on the left side bar at the bottom on “Options”
3.1.3 Enter the Trust Center
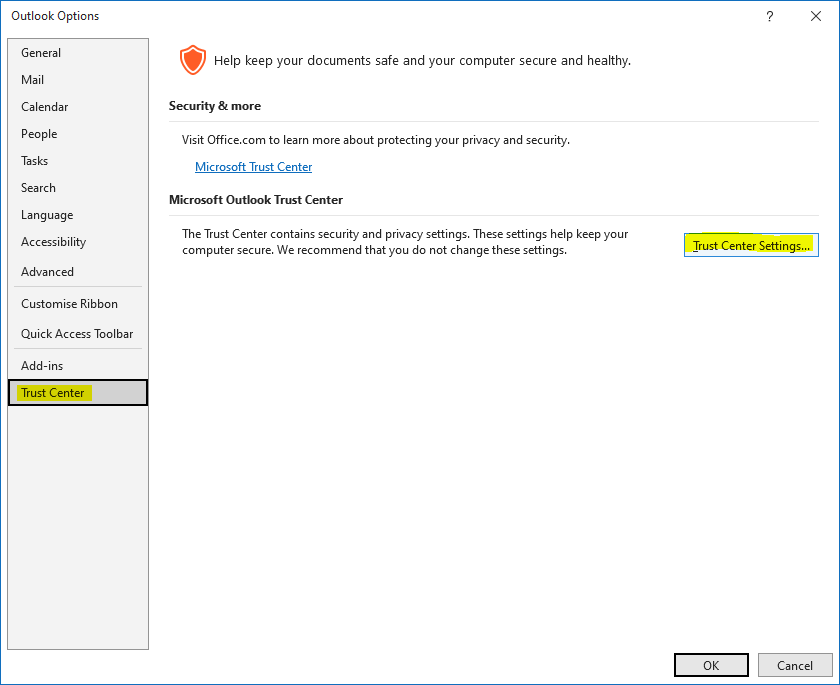
Trust center
Legend:
- Click on “Trust Center”.
- Open “Trust Center Settings”.
3.1.4 Open Security Profiles
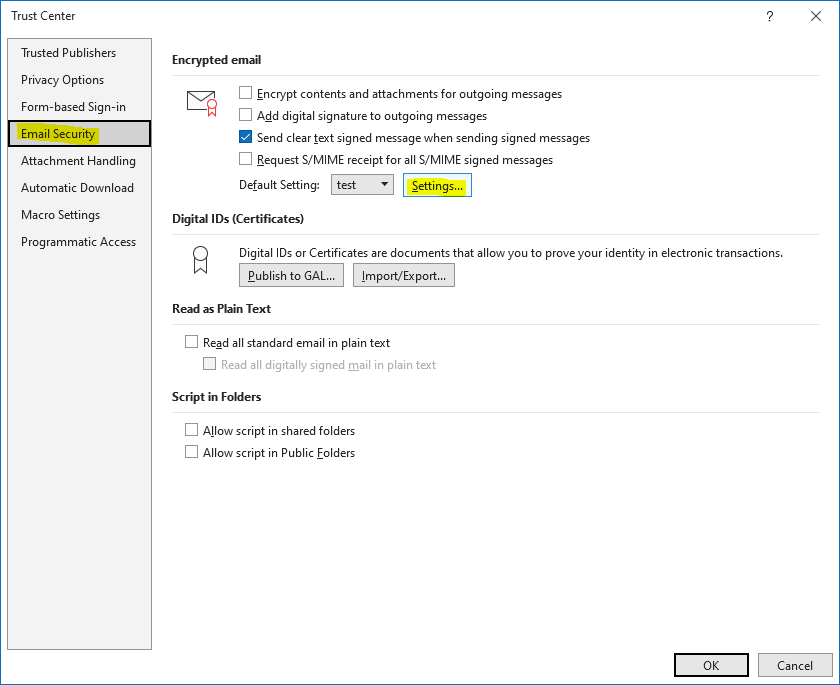
Open email security settings
Legend:
- Click on “Email security”
- Under “Encrypted email messages” click on “Settings”.
3.1.5 Choose certificate
Requirement: UPC token must be plugged in!
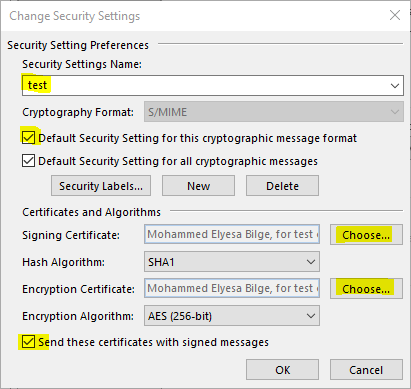
Change security settings
Legend:
- Set “Security Settings Name”.
- Select “Default Security Setting for this cryptographic message format”.
- Select “Signing Certificate” by pressing “Choose…”
- Select “Encryption Certificate” by pressing “Choose…”
- “Send these certificates with signed messages” → “OK”
3.1.6 Enter password of the UPC-Token
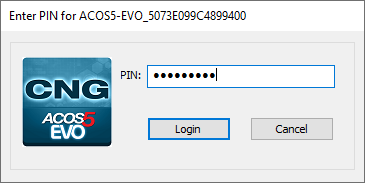
Legend:
-
- Type password in → Click on “Login”.
3.2 Step II – Signing Emails
3.2.1 Create a new email draft
Requirement: UPC token must be plugged in!
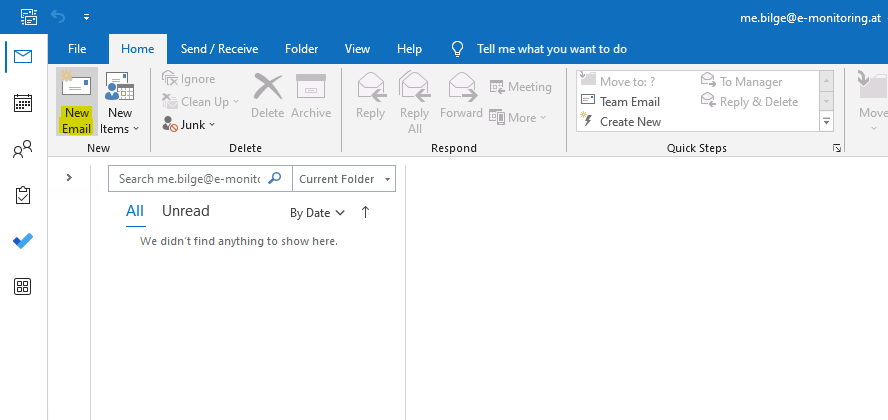
Write new E-Mail
Legend:
- Click on “New Email”
3.2.2 Sign and send the email
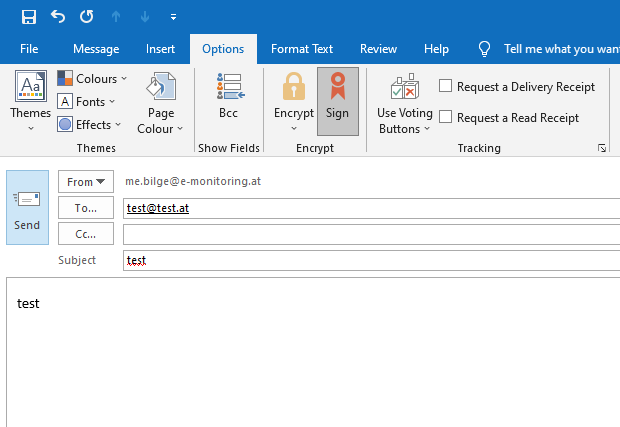
Sign and send the email
Legend:
- “Options” → Click on “Sign”.
- Type in the receiver, subject and the message
- Send your mail.
3.2.3 Enter password of the UPC-Token
Legend:
-
- Type password in → Click on “Login”.
3.3 Step II – Encrypting Emails
3.3.1 Add a new contact to the address book
Note: If you want to send an encrypted message to the contact, they must be in your address book.
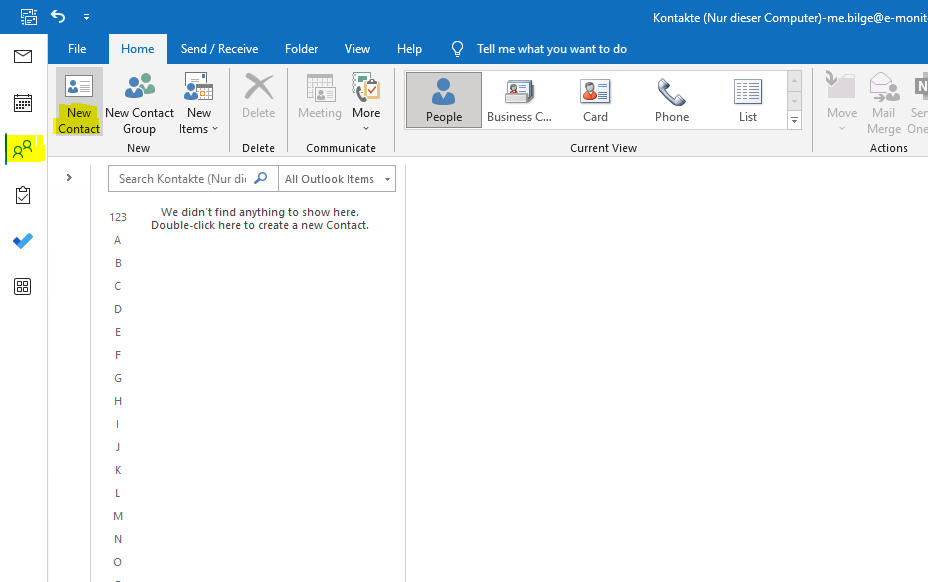
Open “People” and create a new contact
Legend:
-
- “People” → “New Contact”
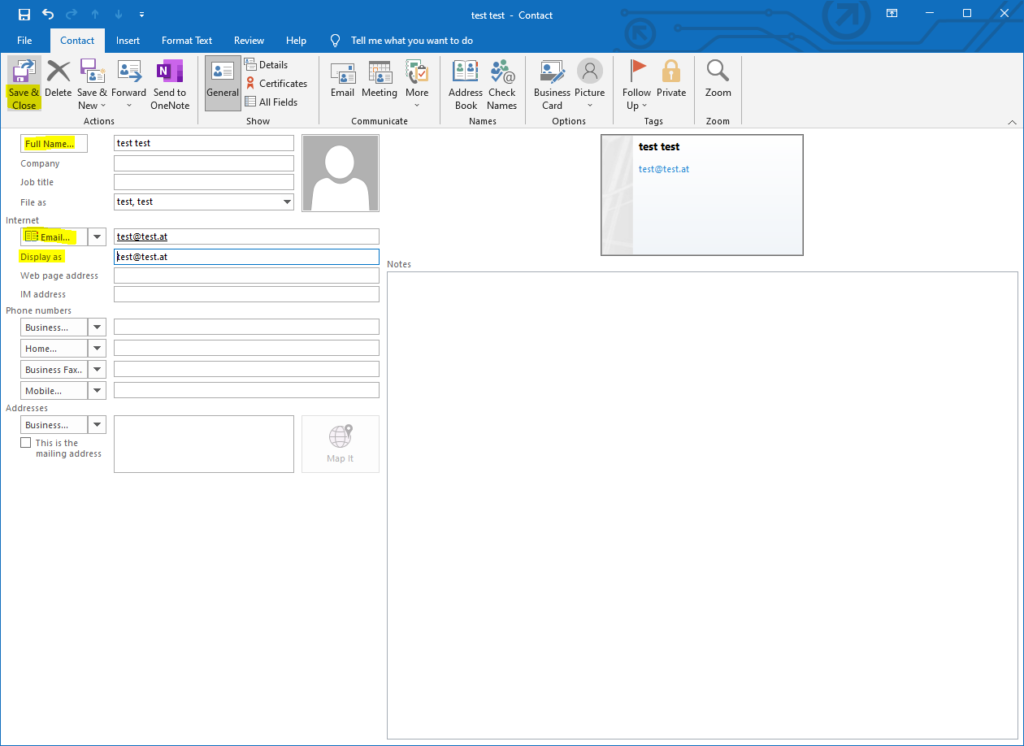
Enter contact details and save
Legend:
-
- Type in Name
- Type in E-Mail address
- Click on “Save & Close”
3.3.2 Create a new email draft
Requirement: UPC token must be plugged in!
Write new E-Mail
Legend:
-
- Click on “New Email”
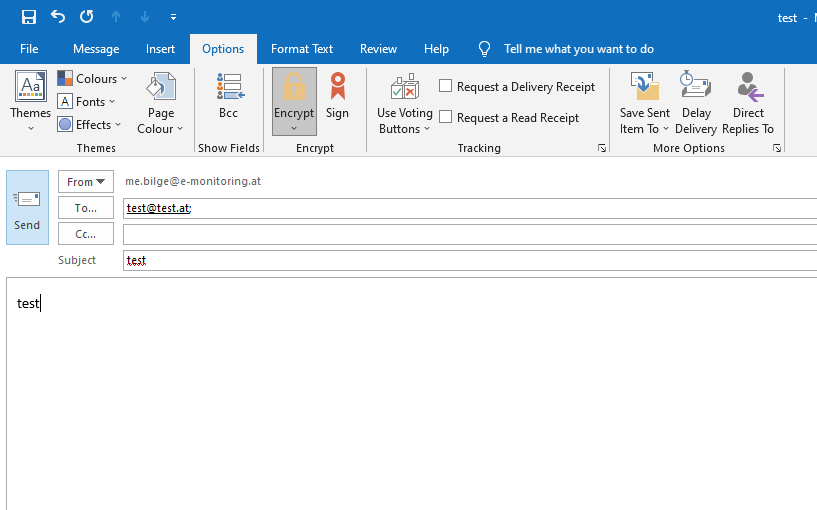
3.3.3 Encrypt and send email
Legend:
- “Options” → “Encrypt”
- Type in the receiver, subject and the message
- Send your mail.
3.3.4 Enter password of the UPC-Token
Legend:
-
- Type password in → Click on “Login”.
3.4 Step II – Signing and encrypting emails
Note: If you have not yet added the contact you want to send the encrypted message to in your address book, go to 3.3.1 Add new contact to address book
3.4.1 Create a new email draft
Requirement: UPC token must be plugged in!
Write new E-Mail
Legend:
- Click on “New Email”.
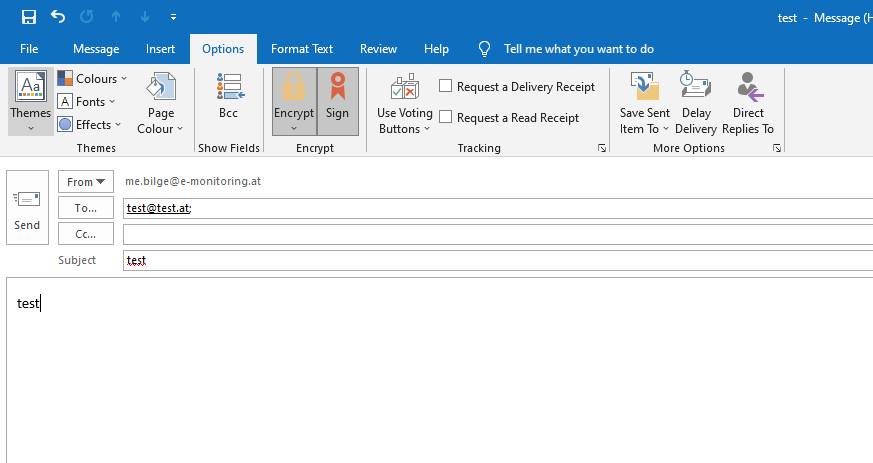
3.4.2 Send signed and encrypted email
Legend:
- “Options” → Click on “Sign” and “Encrypt”
- Enter recipient, subject and message if necessary.
- Send e-mail.
3.4.3 Enter password of the UPC-Token
Legend:
-
- Type password in → Click on “Login”.
You might be interested in that

What are the costs of not going paperless?
While digitization reached almost every aspect of daily work, the necessity for handwritten signatures in B2B environments preserves printing paper its crucial role – and incurs costs. However, by implementing e-signatures, businesses can reduce expenses, streamline processes, and contribute to a more sustainable...

QES & Competition Law – European Commission to require electronic signatures from 1st September, 2023
To further simplify merger control procedures and in line with its overall digital strategy, the European Commission has published a number of revised legal texts, including one that will make electronic transmission of electronically signed documents the default method from 1 September 2023. Read on to find out...

On letters, stamping and (e-)seals
On letters, stamping and (e-)seals Still stamping or already sealing? Fully automated and at the highest security level? If no, you should think about it: You can use the electronic seal as a digitization turbo and make it the central game changer of your organization. Did you know that there are administrative...